
How to Watch FIFA World Cup 2026 in Bali with Telkomsel MAXStream
Watching FIFA World Cup 2026 in Bali is easy with Telkomsel MAXStream. BaliEasy can help you set it up. There
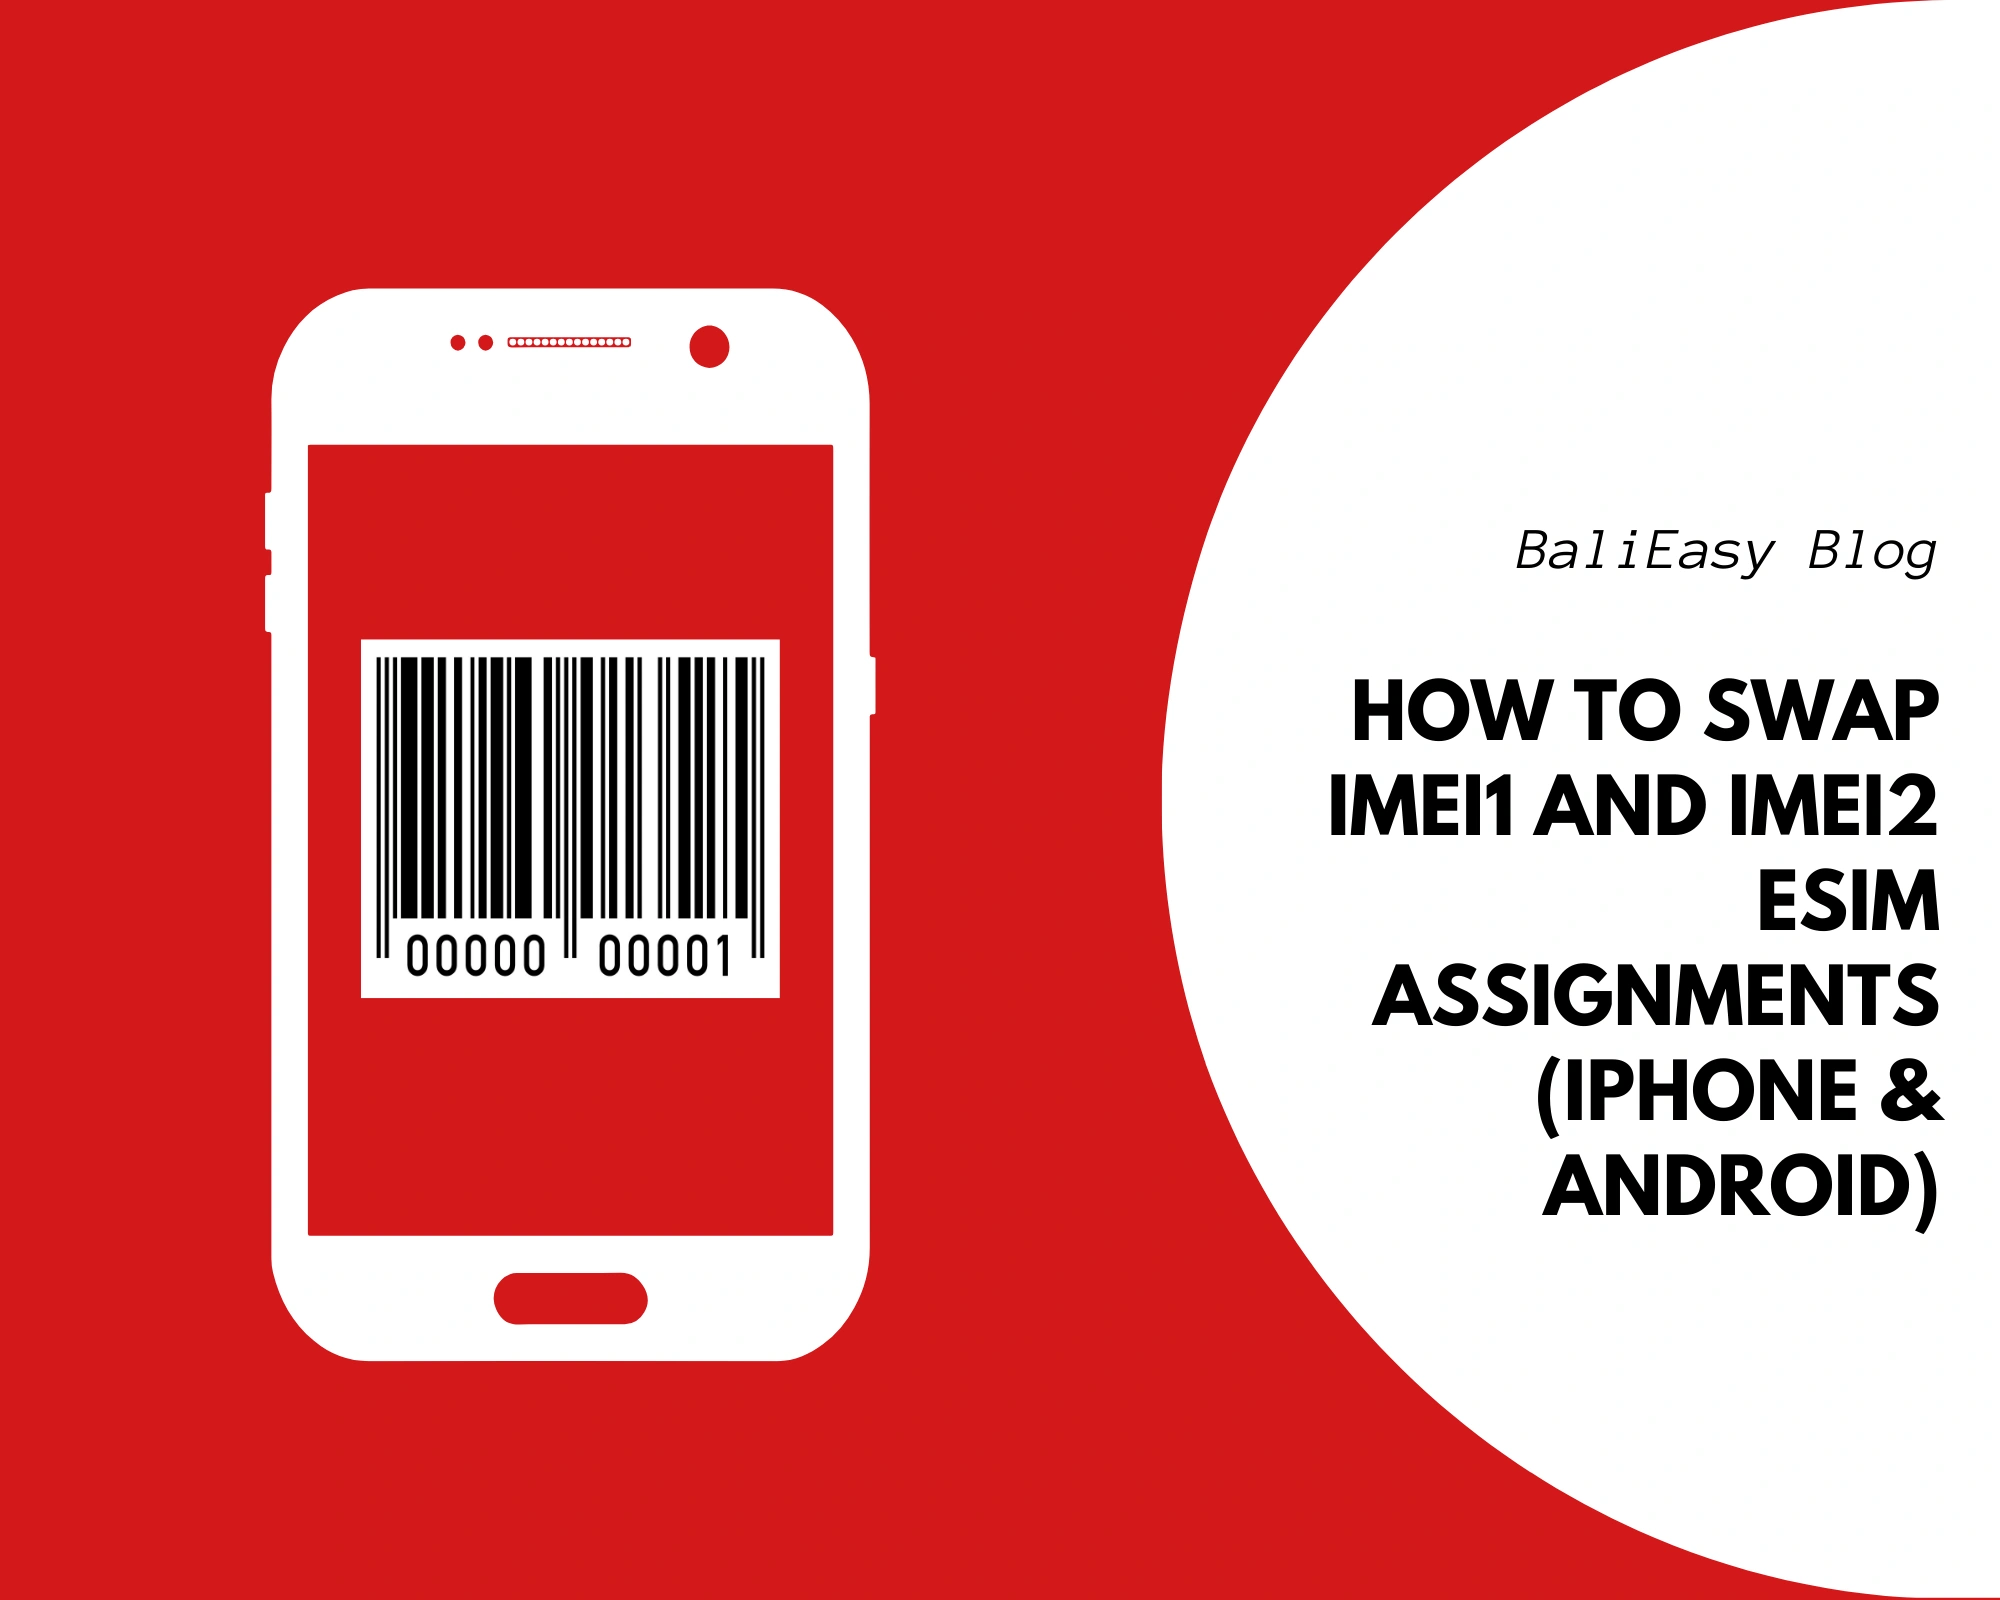
When activating an eSIM, some users find that their eSIM is assigned to the “wrong” IMEI (IMEI2 instead of IMEI1, or vice versa). This can cause activation errors, no signal, or mobile data not working.
This article explains what IMEI1 and IMEI2 mean, when IMEI swapping is possible, and how to fix eSIM assignment issues, especially for users in Indonesia.
Important
You cannot change or edit an IMEI number.
IMEI is hardware-based.
What is possible is moving an eSIM so it uses the correct IMEI slot.
On dual-SIM phones:
| Term | Meaning |
| IMEI1 | Used by the first active cellular line |
| IMEI2 | Used by the second active cellular line |
Each active SIM or eSIM occupies one IMEI.
Some carriers and activation systems:
This is common with local carrier eSIMs and Telkomsel-based eSIMs in Indonesia.
This method works on all iPhones that show both IMEI and IMEI2, including:
Check at: Settings → General → About → IMEI / IMEI2
This forced choice is what allows IMEI reassignment.
| Name | Meaning |
| eSIM #1 | Target eSIM (the one you want to move) |
| eSIM #2 | Secondary eSIM or physical SIM |
| eSIM #3 | Temporary / dummy eSIM |
Example (before swap):
Goal: Move eSIM #1 to IMEI1
| Line | Status | IMEI |
| eSIM #1 | Active | IMEI2 |
| eSIM #2 | Active | IMEI1 |
| eSIM #3 | Inactive | — |
Go to Settings → Cellular → eSIM #3 → Turn On This Line
iPhone shows a message that only two lines can be active.
From the pop-up, choose Turn Off eSIM #1
eSIM #3 replaces eSIM #1 in IMEI2.
Enable eSIM #1 again.
The same pop-up appears.
Choose Turn Off eSIM #2 (the line using IMEI1).
Result
| Line | Status | IMEI |
| eSIM #1 | Active | IMEI1 ✅ |
| eSIM #3 | Active | IMEI2 |
| eSIM #2 | Inactive | — |
eSIM #1 is now correctly assigned to IMEI1.
When this iPhone method may not work
On Android, IMEI swapping for eSIM is limited and depends on the device.
Many Android phones use a dedicated IMEI for eSIM, which means the eSIM cannot be moved between IMEI1 and IMEI2.
If your phone shows IMEI (eSIM) separately, the eSIM is usually locked to that IMEI, and swapping is not supported.
These steps may work on some models, but are not guaranteed.
If the IMEI does not change, your device likely uses a fixed eSIM IMEI.
| Brand | IMEI swap possible? | Explanation |
| Google Pixel | Sometimes | Depends on model and setup order |
| Samsung Galaxy | Usually no | eSIM tied to “IMEI (eSIM)” |
| Xiaomi | Usually no | eSIM uses dedicated IMEI |
| OPPO | Usually no | IMEI assignment is fixed |
On many Android phones, you can switch active lines, but you cannot move eSIM between IMEI1 and IMEI2.
Most Samsung, Xiaomi, and OPPO phones bind eSIM to a dedicated IMEI.
In Indonesia, regulations require that one SIM or eSIM is registered to one IMEI only.
This applies to Telkomsel physical SIMs and Telkomsel-based eSIMs, including BaliEasy.
If an eSIM that was registered under IMEI1 later moves to IMEI2:
This is not a faulty eSIM, it is an IMEI mismatch.
Common BaliEasy cases:
The fix is to move the eSIM back to the registered IMEI, using the iPhone IMEI swap method above.
If you only have:
You may not be able to trigger IMEI reassignment.
You can contact BaliEasy customer support to:
The dummy eSIMs:
If your eSIM suddenly stops working after activation, the issue is often IMEI assignment, not the eSIM itself.
Watching FIFA World Cup 2026 in Bali is easy with Telkomsel MAXStream. BaliEasy can help you set it up. There
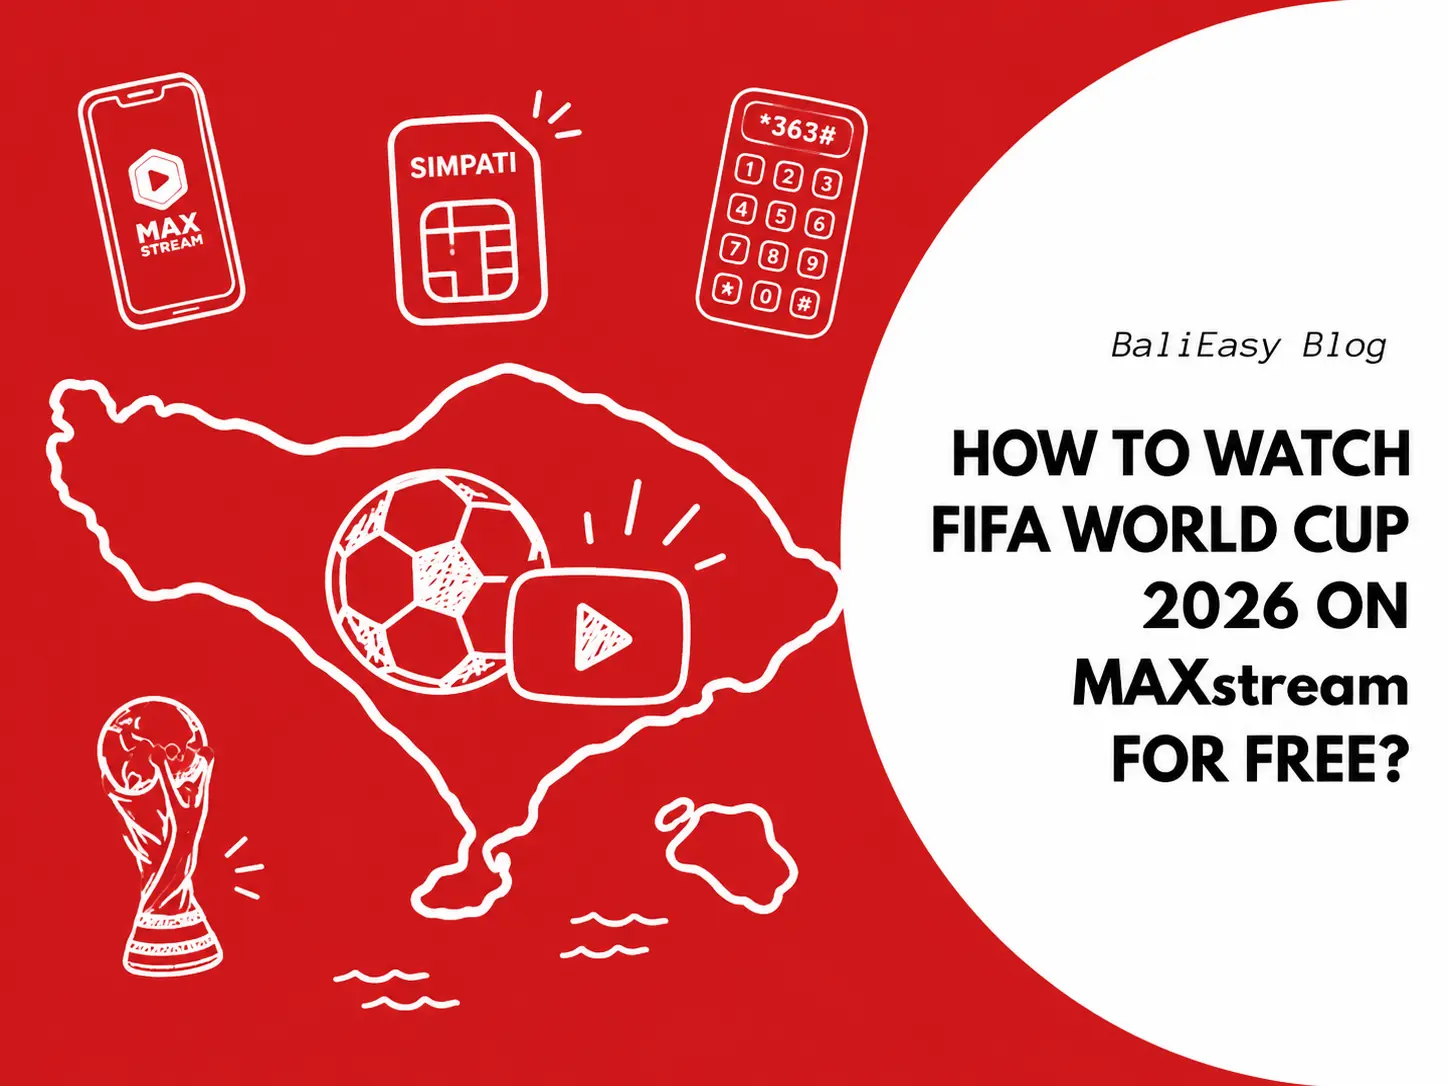
Good news for Telkomsel SIMPATI users. After registering your Telkomsel SIMPATI eSIM or SIM card, you can claim the Bola
Discount Applied Successfully!
Your savings have been added to the cart.
WhatsApp us
All transactions and purchases operate as normal.
Please note that during Nyepi Day (Balinese Day of Silence) on March 19, 2026:
Thank you for your understanding.
📌 How It Works: